This is one of the easiest flowers one can make. I used as inspiration a tutorial from here.
Cutting and putting together the petals is similar however, for a
richer and fantastic effect, I added a central piece: hand made felt pom
pom.
1. You need: felt in 2 different colours, scissors, needles, thread, brooch pin or safety pin, tailors chalk and template.

2. Put the paper template over the felt. I use the chulk to design the shape and then cut it around the line. Cut 4 such shapes.

3. Next you fold the rounded petals into half. Press them to keep
being folded or you can shortly iron them but do not insist too much.

4. Now you arrange them. The next petal corner has to be over the
previous petal. Once arranged, it should look like in the picture.

5. Time for the pom-pom. Take a different colour felt stripe, about
4x10cm size. Bent it on half lengthwise. Start to sew the open edge.

6. Once done, cut along the other edge, creating a sort of fringe.

7. After finishing this, roll it up and sew the base trying to keep the layers together.

8. And here you go with the central pom-pom! It is cute, isn’t it? 

9. Now comes the most difficult part of this project. You have to fix
the pom-pom in the center of the 4 petals and start to sew it around by
keeping together the petals while you attach the center of the flower.
Once you are done the flower looks like this:

It can be worn as a brooch and secure on your blouse with either a safety pin or a sewn brooch pin.
More similar flowers you can see here.
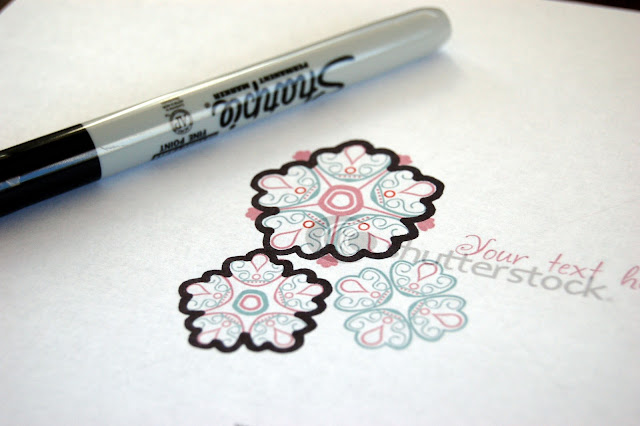
Find a flower template that you'd like to use. I found mine
here
and printed a 4x6 of it.I chose to use the larger of the three flowers.
If you want fewer ridges on your petals, use your marker to manipulate
it to what you want! (2 per petal is what I did for Lola's)
cut out your flower template
using
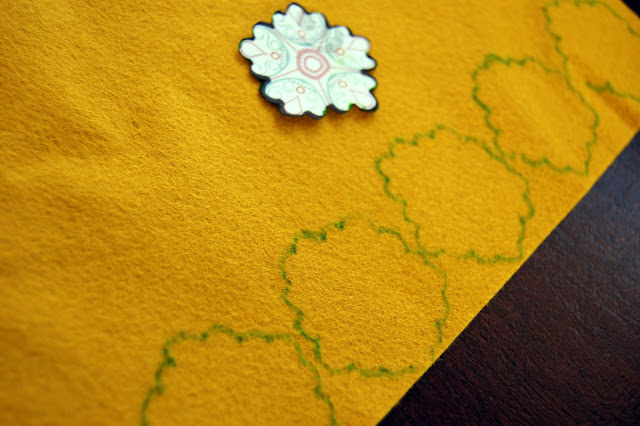
a highlighter, (that's what I like to use, but anysort of pen that will
write on felt will work) trace your template onto your felt.
5 times...
cut
out your flower shapes, trying to cut on the inside of your highlighter
lines...you'll want to completely get rid of all of these lines to make
your flower.
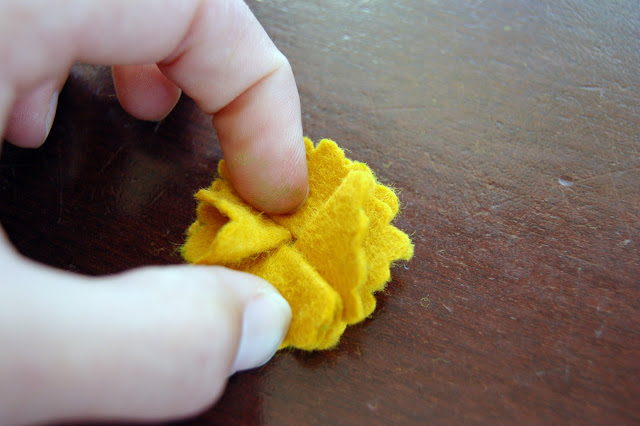
Lay one flower down flat
The other four flowers will be folded in house like so:
lay the first one down on top of the first flat flower:
Turn it, and lay the second folded flower on top of the first folded flower
Turn it and repeat for the third folded flower:
The
fourth folded flower is why I think it's like a box fold. Again lay it
on top of the third folded one, as you did with the previous 3 flowers,
but then slip it under the first one, just like you would fold a box.
Get it?
Hold it in place just like that and begin to make 4 tiny stitches. Start from underneath, so you won't see your knot
come
up to the front on one petal, and making the tiniest stitch, go back do
in that same petal. {note: if you're using a tiny pearl, as seen on
Lola's darling head, make sure that your stitches are as close to the
center as possible.} Continue with 3 more stitches on the remaining 3
petals. You should barely see them.
bring
your needle back up through the center and thread your button or your
pearl through and tack it down several times. ending on the back and
securing with a knot.
voila
Now
for the headband part...My information tells me that for a newborn's
headband, you should cut the elastic at 13-14 inches.
sew it together using a close zig-zag stitch
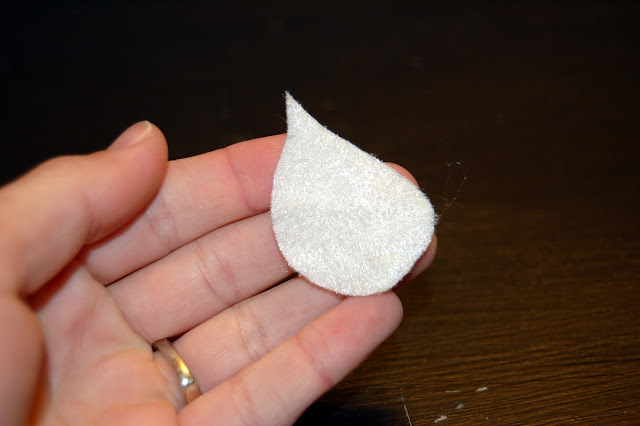
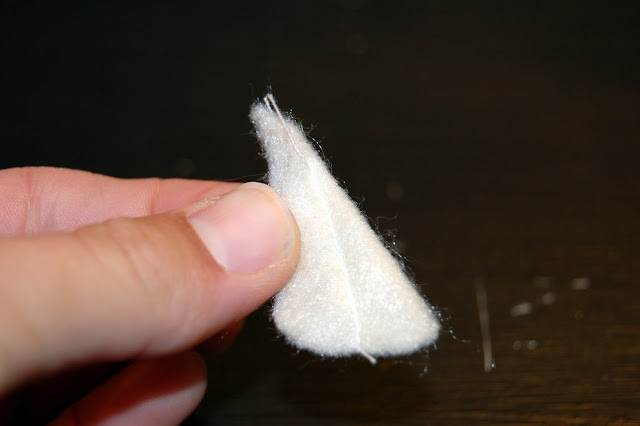
To make your leaf, cut an exaggerated tear shape (I just cut one out, I didn't use a template, sorry!)
fold it in half
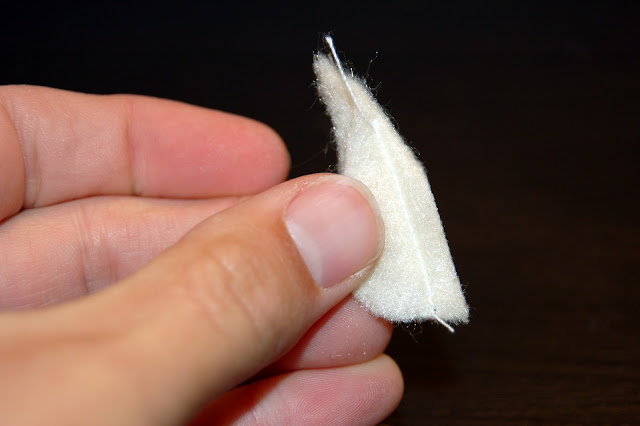
and starting from the top, sew a straight line diagonally {see next picture}
Then trim the fat
open it up and you have a vein in your leaf
make a headband sandwich...
small felt circle so it's nice on Lola's head, then headband,
then leaf...
...then flower...
![]()


